The Critical Role of Proper Protective Fit Behind the Plate
A catcher's gear serves as the primary barrier against foul tips, errant pitches, and home plate collisions, making proper fit an absolute priority. When equipment sits loosely or binds against the joints, it compromises both physical safety and natural defensive mobility. A chest piece that shifts upward during a crouch exposes the collarbone and ribs, while oversized leg guards prevent quick lateral transitions during emergency blocks.
Young players often receive hand-me-down equipment that feels bulky or hangs past the waistline. While buying oversized gear to allow room for growth is a common practice in youth sports, catching gear requires exact torso and leg measurements to function properly. Improper coverage leaves vulnerable spots uncovered precisely when a player drops into the dirt to smother a breaking ball.
Beyond baseline impact deflection, modern protective gear must absorb energy rather than bounce the ball far away into the field of play. Premium padding utilizes multi-layered foams that deaden ball rebounds while dispersing blunt force trauma across a wide surface area. Investing the time to evaluate gear fit before taking game reps ensures that players can position themselves aggressively without fear of injury.
Chest Protector Sizing and Interpreting Size Charts
Determining chest protector sizing requires taking a straight vertical measurement from the base of the neck, right below the throat, down to the top of the belt line or navel. You should not measure around the chest circumference as you would for a dress shirt, because vertical torso length determines whether the throat wedge, clavicle pads, and abdominal segments sit where intended.
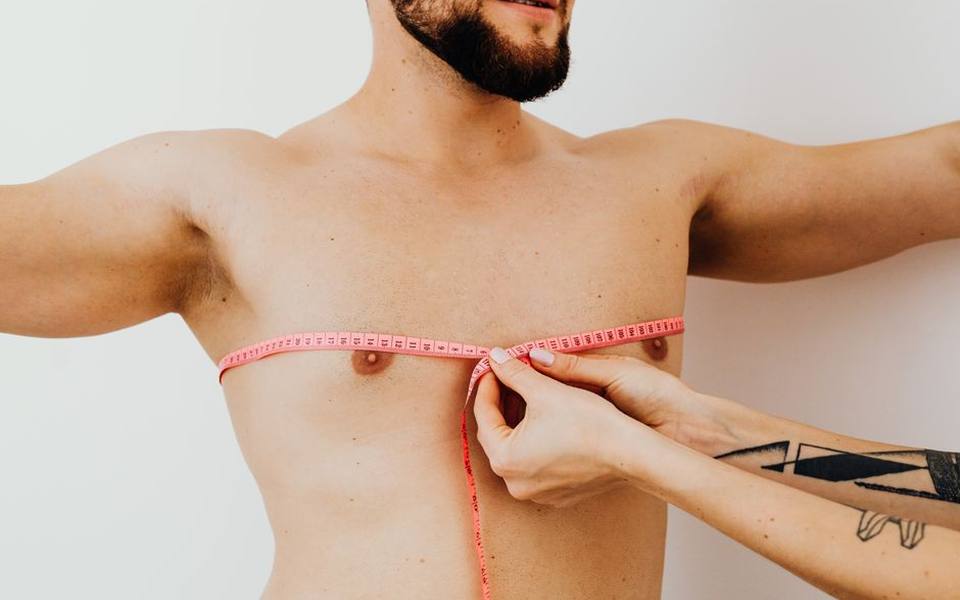
When consulting a catcher chest protector size chart, keep in mind that sizes are generally broken down into broad categories based on inches rather than standard apparel letters. A youth size typically measures between twelve and fourteen inches, an intermediate size covers fifteen to sixteen inches, and adult models generally measure sixteen to eighteen inches. These brackets vary slightly between equipment manufacturers, making hands-on measuring indispensable before purchasing.
Once a protector is strapped on, verify that the neckline rests comfortably over the collarbones without riding up into the throat when sitting in a deep primary stance. The lower hem should completely cover the lower ribs and stomach without bunching against the thighs or belt buckle. If the bottom edge curls inward or pushes upward when you drop your hips, the protector is likely an inch or two too long for your torso.
Sizing Differences Between Youth Small and Intermediate Sets
Younger backstops transitioning between age brackets frequently find themselves stuck between youth small catchers gear and intermediate size options. Youth small equipment is engineered specifically for players aged roughly seven to nine, prioritizing lightweight construction and shorter shins so developing athletes can drop to their knees without fighting excess bulk. Straps on these models are cut shorter to accommodate smaller shoulder spans.
Catchers gear intermediate size sets bridge the developmental gap for players roughly twelve to fifteen years old who have outgrown standard youth lines but lack the shoulder width and torso height for adult gear. Intermediate chest protectors offer thicker high-density foam layering capable of absorbing harder throws and faster pitches, along with extended groin protection wings and broader shoulder caps.
Choosing between these brackets requires evaluating the player's physical build rather than their birthdate alone. A tall twelve-year-old may need intermediate leg guards to protect the knee caps while still needing a youth-sized chest harness to prevent shoulder slippage. Whenever possible, test equipment while wearing the full uniform, including an athletic cup and baseball pants, to ensure realistic clearance.
Understanding and Preventing Severe Thumb Injuries
A catchers thumb injury represents one of the most frustrating and painful setbacks a backstop can encounter during a season. This trauma typically occurs when a high-velocity pitch strikes the thumb side of the pocket or when a foul tip forces the thumb into extreme hyperextension or abduction. The force can sprain or tear the ulnar collateral ligament, leading to significant instability and lengthy recovery windows.
Catchers thumb protection has evolved substantially beyond standard inner gloves with light palm cushioning. Dedicated thumb guards form a rigid, contoured shield around the proximal joint and lower thumb phalange, physically blocking the bone from bending backward during off-center catches. This rigid barrier absorbs the direct shock wave that would otherwise compress the joint capsule.
Catching fastballs cleanly requires receiving the ball deep in the web rather than letting the impact rattle the base of the fingers. However, even seasoned veterans misjudge pitches that carry unexpected tailing action or sharp breaking bite. Equipping players with reliable thumb bracing inside their mitt gives them the mechanical defense necessary to withstand framing errors without suffering chronic joint sprains.
Selecting and Molding Proper Thumb Guard Inserts
Modern thumb protection primarily comes in two varieties: custom heat-moldable thermoplastic inserts and reinforced padded inner gloves. Heat-moldable guards are submerged in warm water until pliable, then shaped directly around the player's thumb and along the wrist line to create a custom-fit shell. This tailored fit ensures that the guard does not slip or pinch when sliding a hand into a stiff mitt.
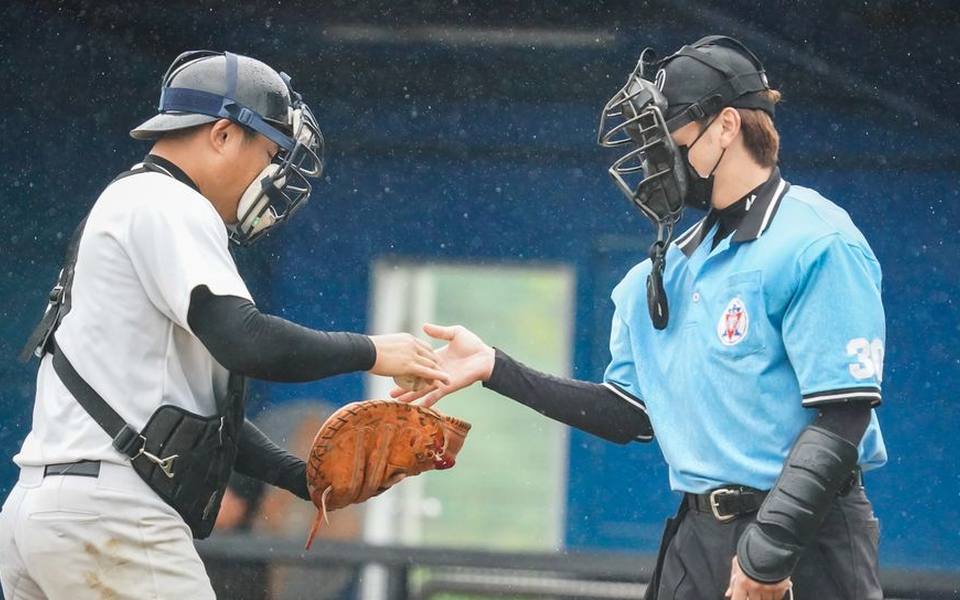
When fitting a thumb guard, ensure that it extends far enough along the outer edge of the thumb to cover the entire joint while still allowing sufficient tactile feel for throwing transitions. If a guard is too thick, it can prevent the mitt from closing cleanly or slow down the exchange process during throwdowns to second base. It should feel like a supportive extension of the glove rather than an awkward wedge.
Regularly check the condition of molded guards, as repeated exposure to summer heat inside equipment bags can soften the plastic and warp its original shape. If the guard cracks, loses its rigidity, or begins digging into the web of your hand, it must be remolded or replaced. Practicing at specialized baseball & softball training facilities allows coaches to inspect a player's hand positioning and protective setup in a controlled environment.
Leg Guard Positioning and Protecting Cleats and Toes
Proper leg guard fitting begins with locating the center of the knee cap directly inside the knee cradle of the shin guard. The protective shin plates should follow the contour of the lower leg, terminating just above the ankle joint without digging into the tongue of the cleat. If the shin guard is too long, it will push upward every time the ankle flexes, knocking the knee pad out of alignment.
Catchers put intense mechanical stress on their footwear due to constant squatting, knee drops, and explosive push-offs toward throwing bases. Much like a pitchers toe guard is glued or molded to the drag foot of a thrower to prevent leather erosion on dirt mounds, catchers frequently wear out the toe box of their trail shoe. When driving down into a block or exploding outward to throw, the toe drags across rough dirt and clay.
Applying a reinforced toe cap or hardened resin guard to your cleats extends the lifespan of expensive baseball shoes while protecting the toes from repetitive crushing forces. When performing aggressive dirt-ball drills, a reinforced toe keeps clay from packing beneath the laces and protects the front of the foot when shifting forward on loose gravel surfaces.
Core Fundamentals of Baseball Catcher Blocking Mechanics
Executing clean baseball catcher blocking drills starts with mastering the transition from a relaxed secondary crouch into an impenetrable blocking posture. When anticipating a pitch in the dirt, the catcher must kick their feet slightly outward while thrusting their knees down onto the ground, replacing their feet with their knee pads. The hips stay low to eliminate open windows underneath the thighs where balls could slip through.
The chest should maintain a slight forward angle toward home plate, acting as a downward ramp that cushions the ball and directs it softy back into the area directly in front of the body. If the chest remains upright or leans backward, bounced balls will glance upward off the protector and carom out of reach, allowing base runners to advance without challenge.
Simultaneously, the glove must drive straight down to seal the five-hole gap between the knees, with the fingers pointed toward the ground and the palm facing out. The bare hand slides safely behind the mitt with the fingers curled into a loose fist. This tucks the fragile thumb and fingertips safely out of harm's way, letting the heavy leather and chest padding absorb the violent kinetic shock.
Progressive Drills for Smothering Pitches in the Dirt
Coaches should implement catchers blocking drills through a steady progression that builds muscle memory without subjecting the athlete to excessive wear and tear. Begin with dry drop drills where the catcher starts on their knees, practicing forward chest angles, chin tucking, and glove-sealing mechanics without a ball. This ingrains proper torso posture before introducing reactionary speed.
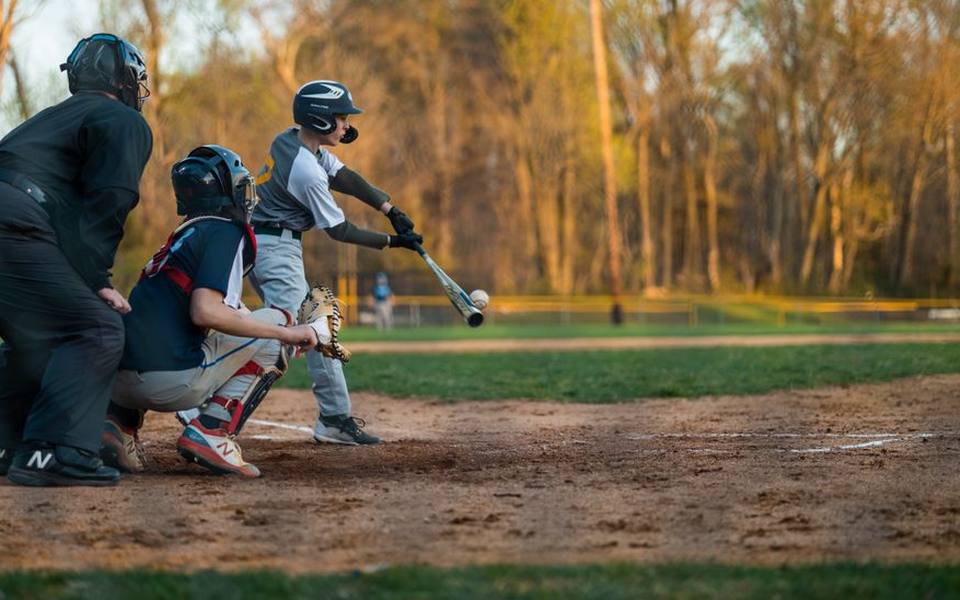
Next, incorporate soft toss blocking drills from fifteen feet away using lightweight foam or tennis balls. This allows catchers to focus entirely on closing the five-hole, tracking the trajectory of the bounce, and driving their knees laterally without the subconscious fear of getting bruised. Once the technical drop becomes fluid, graduate to standard regulation baseballs skipped off dirt or turf.
Practicing lateral slides requires pushing off the opposite foot to launch the hips across the plane of the plate. To block a pitch drifting outside to the right, a right-handed catcher pushes firmly off the inside edge of their left foot, landing with their torso squared toward home plate. Working on these mechanics inside indoor batting cages ensures consistent bounce surfaces and allows focused repetition regardless of seasonal weather.
Structured Tunnel Sessions and High-Repetition Conditioning
Repetitive impact drills place heavy demands on a catcher's hips, quadriceps, and patellar tendons. Structuring blocking routines inside dedicated tunnels requires deliberate spacing and regulated volume. Rather than executing fifty haphazard blocks that lead to poor mechanics from exhaustion, run sets of six to eight high-intensity reps focused on explosive lateral recovery and recovery throws.
Incorporating live arm blocking during bullpen sessions bridges the gap between mechanical drills and genuine game situations. When catching live bullpens at batting cages and hitting facilities, catchers must read real ball spin, arm slots, and late movement. This visual tracking trains the nervous system to react instantaneously when a breaking pitch buries itself in the dirt.
Communication between pitchers, catchers, and instructors during these live sessions accelerates defensive development. Working alongside hitting instructors who conduct hitting lessons in adjacent tunnels exposes catchers to authentic game tempo and real bat swings, refining their ability to track balls through visual interference around the plate.
Routine Equipment Inspection and Maintenance Protocols
Protective gear does not last indefinitely, and regular visual inspections prevent catastrophic equipment failure during games. Inspect the elastic webbing, buckles, and Velcro connectors on chest protectors weekly. Over time, sweat salts and constant pulling cause elastic harnesses to lose tension, resulting in loose-fitting chest pieces that shift out of place when sliding.
Examine the rivets and hinges on leg guards for signs of rust, stress fractures, or loose plastic joints. A broken lower rivet can cause the shin plate to buckle during a play at the plate, leaving the lower tibia completely exposed. Replace missing screws and rivets immediately using dedicated hardware replacement kits rather than makeshift wire fixes.
Finally, inspect the internal high-density foam within the chest protector for dead spots or permanent compression. If you can feel the rib cage through the front pad by pressing firmly with your thumbs, the foam cells have broken down and will no longer absorb ball energy safely. Keeping gear clean, dry, and properly adjusted preserves both athlete health and on-field confidence.
Published 2026-09-21 · reviewed with each rebuild, last October 2026.
Find batting cages & baseball training near you
The directory lists 7,750 batting cages & baseball training by state and city — pick your state or use the “Near me” button in the header.
More guides
-
 Owning
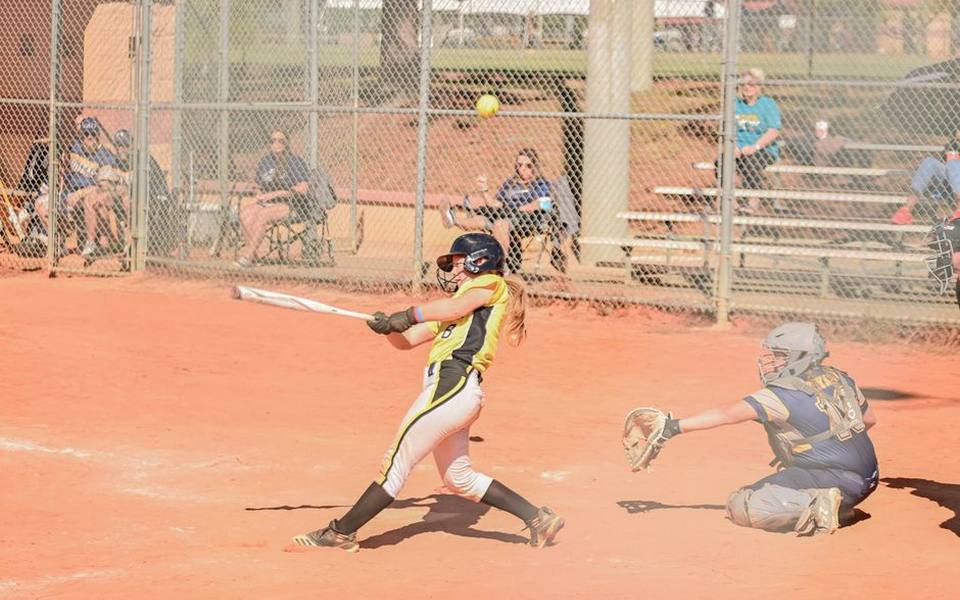
Mastering Softball Mechanics: From Cage Drills to Game-Day Power
-
 Money
MoneyUnderstanding the Expenses of Renting and Building Batting Cages
-
 Safety
Pitching Mechanics: How to Throw Breaking Balls and Build Arm Velocity
-
 Service
Fundamental Swing Mechanics and Handling Breaking Pitches
-
 Owning
Slow Pitch Softball Hitting Guide: Mechanics for Power and Contact
-
 Owning
Building a Consistent Softball Swing: Mechanics, Drills, and Practice Routines
-
 Safety
Pitching Mechanics: Throwing Breaking Pitches and Building Velocity Safely
-
 Owning
Understanding Travel Baseball: Costs, Commitments, and Evaluating the Fit
-
 Buying
Ultimate Guide to Batting Cages and Hitting Nets: Types, Sizing, and Setup
-
 Safety
Youth Baseball Rules: Field Dimensions, Pitch Limits, and Age Brackets
-
 Owning
Batting Practice Essentials: Pitching Machines, Hitting Drills, and Training Equipment
-
 Buying
Baseball & Softball Bat Buying Guide: Sizing, Materials, Certifications, and Custom Options
-
 Owning
Agility Ladder Workouts and Footwork Drills for Baseball and Softball
-
 Safety
Protective Baseball Gear Guide: Catchers Gear, Thumb Guards, and Helmet Sizing
-
 Owning
Baseball & Softball Glove Guide: Sizing, Break-In, Relacing, and Maintenance
-
 Buying
Official MLB and Minor League Team Stores: Buying Authentic Fan Gear
-
 Service
Understanding Baseball Sabermetrics: Core and Advanced Stats Explained
-
 Service
Corporate Team Building Guide: Outings, Events, and Venue Selection
-
 Buying
A Complete Guide to Ordering Custom Baseball Uniforms and Team Apparel
-
 Buying
Custom Sports Jerseys Guide: Outfitting Soccer, Track, Volleyball, and Football Teams
-
 Owning
Complete Little League Guide: Schedules, Divisions, Rules, and Grants
-
 Buying
Local Sporting Goods Stores: Finding Gear, Trade-Ins, and Used Bats
-
 Buying
Baseball Birthday Party Ideas: Decorations, Supplies, and Themes
-
 Service
Youth Baseball and Softball Camps: Showcases, Academies, and Clinics
-
 Buying
Custom Fan Apparel and Varsity Jackets: Customization and Sizing
-
 Safety
Youth Pitching Arm Safety: Treating Little League Elbow and Shoulder Injuries
-
 Buying
Custom Baseball and Softball Uniforms: Design, Sublimation, and Ordering Guide
-
 Owning
Youth Baseball and T-Ball Drills: Practice Plans for Coaches and Parents
-
 Safety
Youth Baseball Sizing Guide: Batting Helmets, Gloves, and Protective Gear
-
 Buying
Commercial and Backyard Pitching Machines: Buyer's Guide and Field Maintenance
-
 Service
How to Choose and Enroll in Baseball and Softball Training Camps
-
 Service
Baseball & Softball Hitting Instruction, Swing Tech & Private Coaching Guide
-
 Safety
Baseball & Softball Helmet Sizing and Fit Guide
-
 Owning
How to Build and Outfit a Batting Cage and Hitting Facility
-
 Service
Baseball & Softball Glove Relacing, Restringing, and Care Guide
-
 Service
Baseball Camps, Youth Academies, and Showcase Tryouts Guide
-
 Owning
Adult Baseball, Softball, and Backyard Leagues: A Complete Guide to Modern Formats
-
 Service
Planning Team Building Events, Parties, and Fundraisers at Sports Venues
-
 Service
Softball Mechanics, Pitch Grips, and Gear Sizing Guide