Evaluating Glove Wear and Lace Integrity
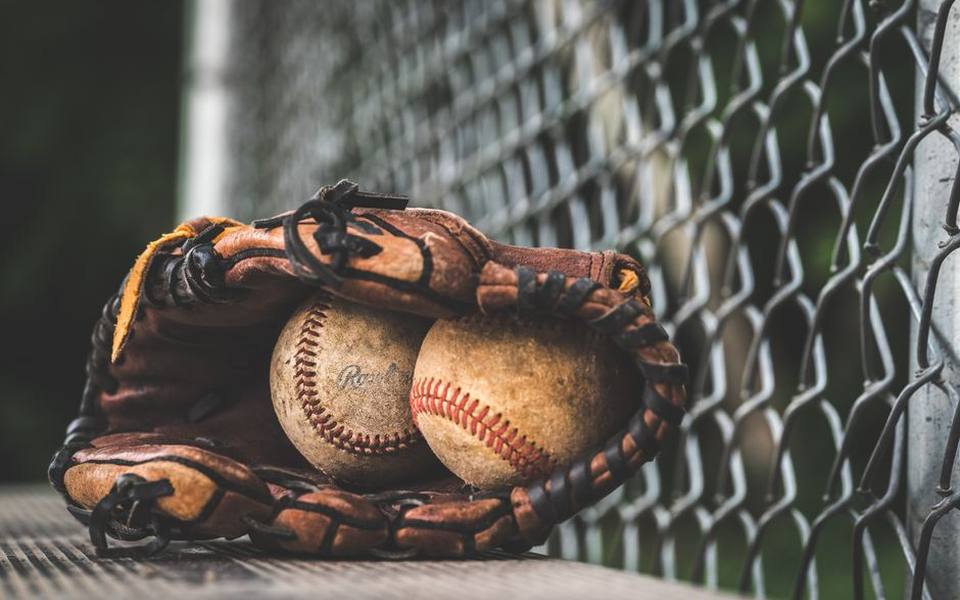
A baseball or softball glove undergoes tremendous stress every time a hard-hit ball strikes the pocket. Over months of heavy practices and games, the rawhide lacing stretches out, dries out from sweat, and eventually cracks under tension. Identifying structural problems before a lace snaps completely during an inning saves you from urgent field repairs. Inspecting the leather should be a standard ritual at the beginning of each spring and midway through competitive tournament runs.
The most vulnerable zones on any glove are usually the finger spirals, the web bridge, and the pocket anchor points. When laces dry out, they change color, turning chalky or pale, and lose their natural elasticity. If you notice thin spots, fraying near the eyelets, or slack segments where fingers pull loosely apart, the rawhide has reached the end of its reliable lifespan. Leaving brittle laces in a glove risks pocket blowouts that can lead to finger injuries.
Fielders often wonder whether they need a complete overhaul or simply a localized repair. If a single lace on the wrist strap snaps, replacing only that segment is common and fast. However, if multiple laces across the fingers and web are brittle, the rest of the glove is likely in similar condition. Restringing the entire mitt ensures uniform leather tension across all stress points, restoring the firm structural frame that players rely on when fielding hard grounders.
Softball gloves face similar wear patterns, though the wider pocket and larger ball diameter place higher outward torque on the web spirals. Catchers mitts and first base mitts bear even heavier impact loads, demanding regular checks along the perimeter and palm closures. Catching wear early keeps the glove shape stable, meaning you spend less time adjusting your pocket and more time focusing on fundamental defensive execution.
Assembling the Right Restringing Toolkit
Undertaking a glove restoration requires a few specialized hand tools that make handling stiff rawhide strips practical. At the center of any leather repair setup is a proper threading needle. Traditional threaded needles have hollow, threaded ends where you screw the lace tip into the metal base, allowing you to pull it smoothly through tight eyelets. Awls, pliers, and sharp leather cutters complete the basic workshop setup needed for clean restringing.
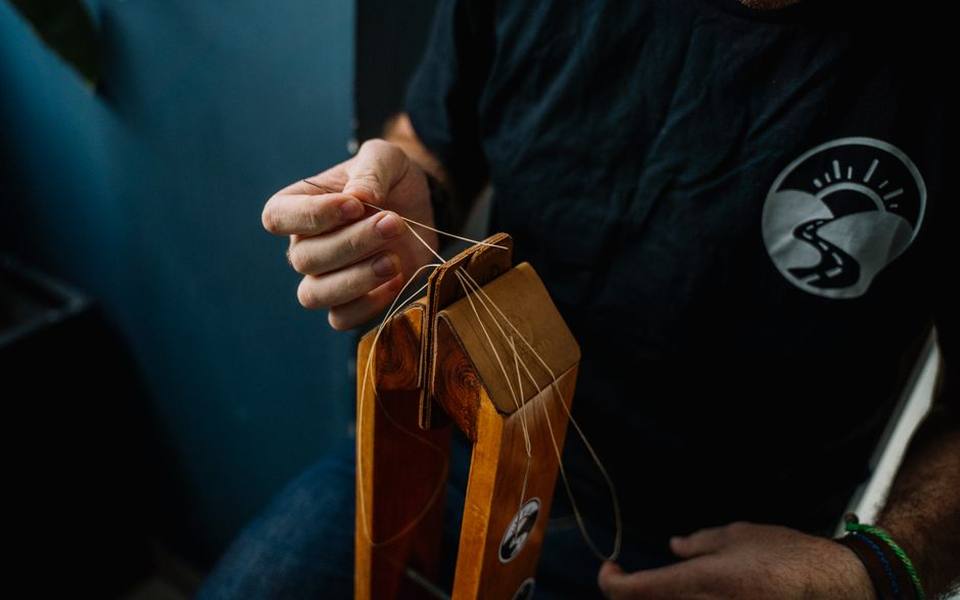
Rawhide strips typically come in standard widths of three-sixteenths of an inch and one-quarter of an inch. Thinner laces work best through standard finger holes, the palm interior, and wrist straps, where bulk creates uncomfortable friction against the hand. The wider, heavy-duty quarter-inch laces are engineered specifically for catcher webs, first base edges, and high-impact web tops. Choosing quality vegetable-tanned rawhide ensures the strips will hold tension without tearing apart under heavy ball friction.
A complete home repair pack typically contains three to six strips of rawhide, an awl for widening cramped holes, and a lacing tool. While some kits feature a flexible wire loop puller, a solid threaded steel needle gives far better directional control when navigating tight interior channels. Keeping needle-nose pliers handy helps grip the tool tip on awkward angles, sparing your hands unnecessary strain during tedious re-threading sequences.
Mapping Patterns and Removing Broken Lacing
The single most common mistake beginners make is stripping every lace from the mitt all at once. Without a physical reference, figuring out how the web weaves into the frame or how the fingers interlock becomes unnecessarily confusing. Before touching any shears, take high-resolution photos of the front, back, top, and inside eyelets from multiple angles. These visual notes serve as an indispensable blueprint when you start running fresh rawhide back through the leather shell.
Work methodically by disassembling only one zone at a time. Start with the finger tops, then move to the web, the heel, and finally the thumb and pinky stays. As you gently pull out an old piece of lace, trace its path through the eyelets. Notice whether the smooth grain side of the rawhide faces outward toward the field or inward toward the pocket, as keeping the grain side facing forward protects the lace core from dirt and abrasive friction.
Examine the empty eyelets for dirt buildup, chalk, or built-up sweat before sliding fresh leather through them. Use an awl or a clean cotton swab to clear out packed debris from the punch holes. If the glove has internal padding shifts or loose heel felts, this disassembly phase offers the best chance to smooth out interior bunching before sealing everything back down under tight, freshly pulled leather.
Step-by-Step Restringing for Fielders and Softball Mitts
Begin the reassembly process at the finger bridges, which hold the structural framework together. Cut the tip of your rawhide lace at a forty-five-degree angle so it threads effortlessly into your needle base. Skive or trim down the tip thickness slightly if the needle feels too tight. Push the tool through the outer pinky eyelet, leaving an adequate tail on the exterior to tie your finishing knot once tension across the fingers is dialed in.
Feed the rawhide through the finger loops using consistent pull strength. When restringing an infield or outfield glove, avoid pulling the finger laces completely taut like guitar strings. A small amount of slack allows the fingers to flex naturally when closing around the ball. Softball models require slightly more spacing across the upper bridge to accommodate the eleven- or twelve-inch ball diameter without creating a stiff, pinched funnel that rejects catches.
After stringing through the fingers, work the web into place following the original factory route. Most webs utilize an alternating spiral pattern that anchors into the top bar, loops down through the pocket base, and finishes around the thumb wing. Once completed, take the mitt to local indoor batting cages to play gentle catch, gradually snugging down or loosening individual knots until the pocket responsiveness feels tailored to your defensive mechanics.
Specialized Relacing for Catcher Mitts and First Base Mitts
A catcher's mitt demands a completely different approach compared to a standard fielding glove due to the massive impact forces it absorbs. Catchers handle pitches reaching high speeds, making proper rawhide thickness and balanced knot placement vital for safety. For the outer perimeter and the upper web, always choose quarter-inch thick rawhide strips. Using standard three-sixteenths lace in these load-bearing areas often leads to premature breakage within just a few weeks of bullpen work.
The perimeter spiral on a catcher mitt ties the heavy front face to the back shell, encasing thick internal felt bars. Work slowly around this perimeter edge, pulling each loop firmly with pliers to seat the leather flush. If the edge spiral is left too loose, the mitt will feel floppy and fail to pop cleanly; if pulled excessively tight, the thumb and pinky bars will curl inward, significantly reducing the effective catching surface.
Finishing the web on a backstop mitt involves threading through multiple layers of heavy steerhide. Coat your rawhide lightly with glove conditioner or water mist to help it slide smoothly through the thick leather channels. When tying off the square knots or modified surgeon knots on the thumb and wrist stays, ensure they rest flat against the exterior so they never dig into your wrist padding during long innings behind the plate.
Traditional Break-In Methods for Premium Stiff Gloves
High-end leather mitts, such as professional-grade steerhide patterns, arrive from the factory remarkably stiff and unyielding. Many players rush this process with shortcut gadgets, but patience and manual manipulation yield the most durable pocket shape. Breaking in heavy steerhide requires breaking the fiber bonds at the natural hinge points—specifically where the heel bends below the thumb and pinky—without crushing the protective palm padding.
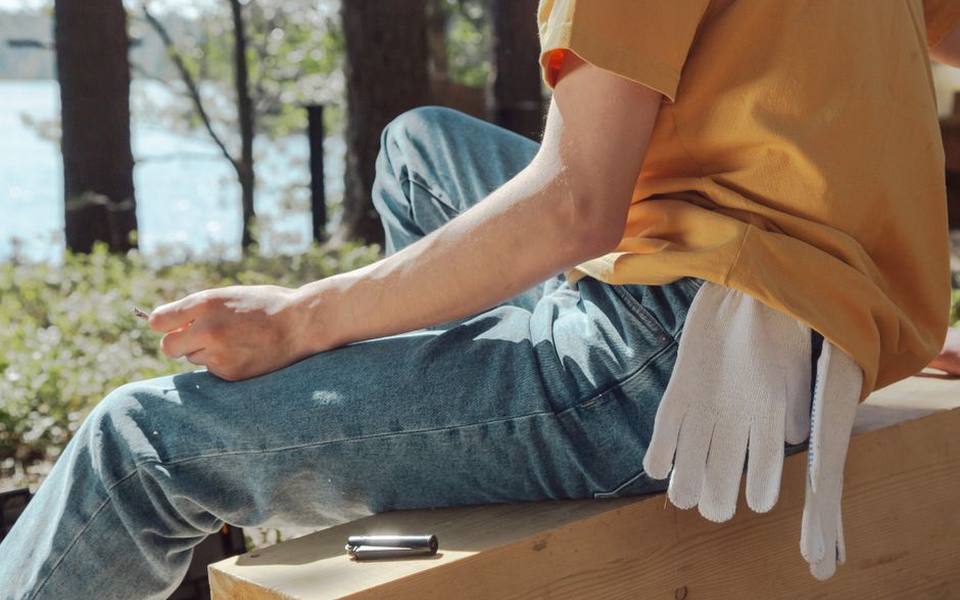
A wooden glove mallet is the safest and most effective tool for shaping fresh leather. Work the target pocket area repeatedly while holding the glove in your hand to simulate catch impacts. Pound along the base of the web, the center palm, and the primary hinge creases. Avoid hitting the finger tips directly, as keeping the fingers rigid helps the glove retain its structure when reaching for balls at full extension on the dirt.
Taking your stiff mitt through repetitive defensive drills at baseball & softball training facilities is an essential part of the break-in cycle. Playing catch with high-velocity throws naturally shapes the leather to your personal hand mechanics. Work through grounders, short hops, and fly balls consistently; the combination of hand heat, natural sweat, and leather flex will create a pocket tailored to your catching preferences far better than artificial shortcuts.
Evaluating Glove Steamers and Accelerated Softening
Steaming machines have become popular options in pro shops seeking to speed up the break-in timeline. A steamer uses controlled hot vapor inside an enclosed chamber to relax dense steerhide fibers in approximately five to ten minutes. Once heated, the leather becomes noticeably pliable, allowing a technician to beat the hinges and shape the pocket quickly using weighted mallets and shaped forming balls.
While steaming is widely practiced, it requires careful heat moderation to prevent damage. Excessive temperatures or prolonged exposure to damp heat can leach the natural oils out of raw leather, leaving it brittle once dry. If you opt for commercial steaming, ensure the technician applies an oil-based leather protector beforehand and limits steam cycles to short intervals, avoiding water saturation of the interior felts.
Home methods involving ovens, microwaves, or boiling water baths should be strictly avoided. Uncontrolled dry heat cooks the internal collagen fibers, resulting in permanent cracking, shrank leather panels, and voided manufacturer warranties. If professional steaming is unavailable, sticking with warm water splashing on hinge creases followed by mallet work remains the safest mechanical compromise.
Routine Conditioning and Safe Off-Season Storage
Proper hydration keeps leather supple without adding excess weight that slows down your hand speed. Over-oiling is a frequent mistake among amateur ballplayers who saturate mitts with heavy mineral oils. Too much oil clogs the natural leather pores, attracts fine infield dust that grinds like sandpaper, and leaves the glove heavy. Apply a dime-sized dab of lanolin- or beeswax-based conditioner once or twice a season using a microfiber cloth.
Focus conditioner on high-friction areas: the inside palm where sweat accumulates, the ball pocket, and across dry rawhide laces. After spreading an even coat, wipe away any excess residue thoroughly with a clean rag. Never store a glove with liquid conditioner sitting on the surface, as pooling liquid softens leather unevenly and leads to floppy finger stalls that fold over when fielding hard ground balls.
Off-season storage requires stable temperatures and deliberate shape preservation. Place a softball or regulation baseball in the pocket, wrap the glove gently with a wide elastic strap, and store it on a shelf in a climate-controlled room. Avoid throwing your mitt into the trunk of a hot car or damp basement. Keeping your gear ready for visits to batting cages and hitting facilities preserves your leather investment across many seasons.
Wrapping Bat Grips for Cleaner Control and Feel
Upgrading bat handle wraps is another vital maintenance skill that pairs naturally with glove care. Over a long season of swings, synthetic polymer grips become smooth, torn, or slick from pine tar and sweat, reducing grip stability. High-performance polymer tape provides vibration dampening and traction, allowing hitters to maintain a relaxed, fluid grip through the hitting zone without squeezing the handle too tightly.
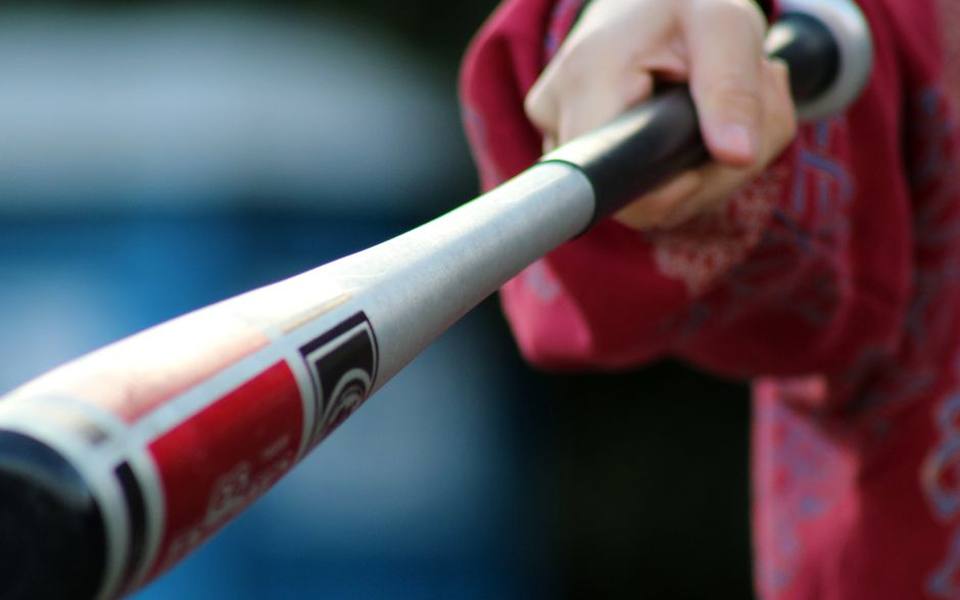
To wrap a handle properly, strip off the old worn tape, scrape away residual adhesive using rubbing alcohol, and let the bare handle dry completely. Modern grip tape features a tapered starting edge designed specifically for either right- or left-handed hitters. Right-handed batters should wrap clockwise looking down the knob, while left-handed batters should wrap counter-clockwise. This direction ensures your top hand pulls with the seam overlap rather than rolling against it during swings.
Maintain steady tension as you spiral up the handle, overlapping the edges by approximately one-eighth of an inch. Overlapping too heavily creates bulky ridges that alter handle thickness, while spacing too wide leaves gaps where bare alloy or composite shows through. Once you reach your desired height, trim the remaining tape with scissors on an angle, apply the manufacturer's finishing collar tape, and press firmly to seal the edge.
Field Testing Restored Gear in Live Drills
Once your mitt is restyled with fresh rawhide and your bats are freshly wrapped, field testing confirms the tension is balanced. Live hitting and catching sessions immediately expose any loose eyelet knots or uneven finger spacing before you take the field in tournament play. Finding a facility where you can take reps against pitching machines makes dialing in your setup convenient and controlled.
Schedule time at local facilities offering structured practice or batting cages with hitting lessons to put your restored gear through high-repetition work. Notice how the glove feels on fast transfers: the pocket should secure the ball cleanly without popping it loose, and the web should absorb shock without pinching your fingers. If you feel excess pressure on the back of your hand, loosen the wrist lace one notch.
Carrying a spare lacing needle and a couple of extra leather strips in your equipment bag provides peace of mind throughout the season. Leather stretches and adapts as it breaks in, so small tension tweaks after twenty or thirty innings are normal. Taking ownership of your glove restringing and equipment care ensures your defensive tools remain dependable every time you step out onto the diamond.
Published 2026-09-21 · reviewed with each rebuild, last October 2026.
Find batting cages & baseball training near you
The directory lists 7,750 batting cages & baseball training by state and city — pick your state or use the “Near me” button in the header.
More guides
-
 Owning
Mastering Softball Mechanics: From Cage Drills to Game-Day Power
-
 Money
MoneyUnderstanding the Expenses of Renting and Building Batting Cages
-
 Safety
Pitching Mechanics: How to Throw Breaking Balls and Build Arm Velocity
-
 Service
Fundamental Swing Mechanics and Handling Breaking Pitches
-
 Owning
Slow Pitch Softball Hitting Guide: Mechanics for Power and Contact
-
 Owning
Building a Consistent Softball Swing: Mechanics, Drills, and Practice Routines
-
 Safety
Pitching Mechanics: Throwing Breaking Pitches and Building Velocity Safely
-
 Owning
Understanding Travel Baseball: Costs, Commitments, and Evaluating the Fit
-
 Buying
Ultimate Guide to Batting Cages and Hitting Nets: Types, Sizing, and Setup
-
 Safety
Youth Baseball Rules: Field Dimensions, Pitch Limits, and Age Brackets
-
 Owning
Batting Practice Essentials: Pitching Machines, Hitting Drills, and Training Equipment
-
 Buying
Baseball & Softball Bat Buying Guide: Sizing, Materials, Certifications, and Custom Options
-
 Owning
Agility Ladder Workouts and Footwork Drills for Baseball and Softball
-
 Safety
Protective Baseball Gear Guide: Catchers Gear, Thumb Guards, and Helmet Sizing
-
 Owning
Baseball & Softball Glove Guide: Sizing, Break-In, Relacing, and Maintenance
-
 Buying
Official MLB and Minor League Team Stores: Buying Authentic Fan Gear
-
 Service
Understanding Baseball Sabermetrics: Core and Advanced Stats Explained
-
 Service
Corporate Team Building Guide: Outings, Events, and Venue Selection
-
 Buying
A Complete Guide to Ordering Custom Baseball Uniforms and Team Apparel
-
 Buying
Custom Sports Jerseys Guide: Outfitting Soccer, Track, Volleyball, and Football Teams
-
 Owning
Complete Little League Guide: Schedules, Divisions, Rules, and Grants
-
 Buying
Local Sporting Goods Stores: Finding Gear, Trade-Ins, and Used Bats
-
 Buying
Baseball Birthday Party Ideas: Decorations, Supplies, and Themes
-
 Service
Youth Baseball and Softball Camps: Showcases, Academies, and Clinics
-
 Buying
Custom Fan Apparel and Varsity Jackets: Customization and Sizing
-
 Safety
Youth Pitching Arm Safety: Treating Little League Elbow and Shoulder Injuries
-
 Buying
Custom Baseball and Softball Uniforms: Design, Sublimation, and Ordering Guide
-
 Owning
Youth Baseball and T-Ball Drills: Practice Plans for Coaches and Parents
-
 Safety
Youth Baseball Sizing Guide: Batting Helmets, Gloves, and Protective Gear
-
 Buying
Commercial and Backyard Pitching Machines: Buyer's Guide and Field Maintenance
-
 Service
How to Choose and Enroll in Baseball and Softball Training Camps
-
 Service
Baseball & Softball Hitting Instruction, Swing Tech & Private Coaching Guide
-
 Safety
Baseball & Softball Helmet Sizing and Fit Guide
-
 Owning
How to Build and Outfit a Batting Cage and Hitting Facility
-
 Safety
Catcher's Gear Sizing, Protection, and Defensive Blocking Mechanics
-
 Service
Baseball Camps, Youth Academies, and Showcase Tryouts Guide
-
 Owning
Adult Baseball, Softball, and Backyard Leagues: A Complete Guide to Modern Formats
-
 Service
Planning Team Building Events, Parties, and Fundraisers at Sports Venues
-
 Service
Softball Mechanics, Pitch Grips, and Gear Sizing Guide